

")


 Guide")


How many times have you walked through Hobby Lobby or Marshalls and spotted a cool piece of wall art and thought to yourself… “I can totally do that.” Okay. So how many times have you actually *done* it? I know…it’s hard to make time to do anything these days. But I found a SIMPLE wall art project you can do in about 15 minutes. Yep. 15 minutes. And you can alter it for just about any occasion.
Here’s what you need ::
- canvas or old wood picture
- acrylic paint {any colors}
- paint brush
- washi tape {…painter’s tape, masking tape}
- spray paint {you don’t *have* to have spray paint – I just happened to have some that works for this project}
Directions ::
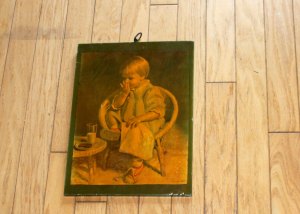
I found this wooden piece of art work at the thrift store for 50 cents. {You might remember that I LOVE thrifting!} I knew I was going to need it one day. It already had a cool hook to hang it, and it’s a nice thick piece of wood – perfect for repurposing! But you can also do this project with an old canvas or even an old board.
First, cover the art work and give yourself a base color to work with.
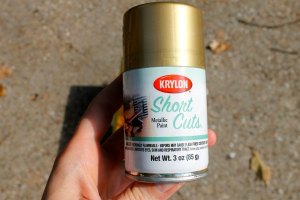
I had this gold spray paint in my garage, but you can use any type of paint you may have around the house. I think the gold gives it a nice fall feel.
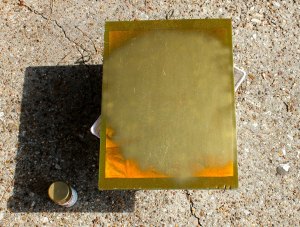
Spray paint most of the front of the picture. {This might go without saying, but do this outside.} Let it dry for a few hours so the tape doesn’t stick and peel off the paint. It may feel dry right away, but you are going to be putting tape over it, so you want to make sure it’s really dry. I let mine dry overnight.
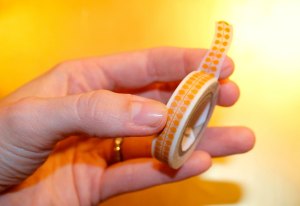
This is washi tape. Have you seen it? It’s thinner “scrapbooking” tape you can use on all sorts of projects. You could just use whatever tape you have, but this is extra thin so it will peel off when you are ready for that part.
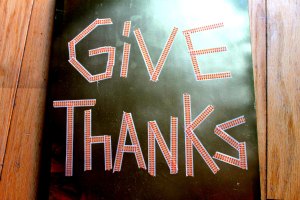
Put the tape down in the design you would like. I put “Give Thanks” for the Thanksgiving season. However, you could do a monogram or your family’s last name. The possibilities are endless! Then, grab some colors and paint!
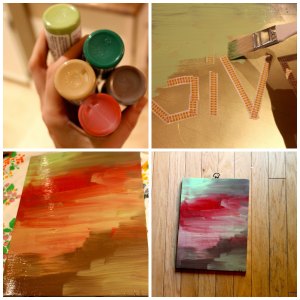
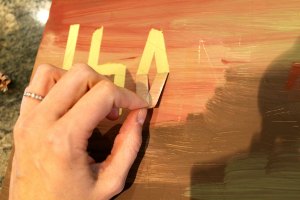
I picked out fall type colors and used a brush to mix the colors together on the front of the sign. Cover the entire area with paint. This does not have to be perfect – that is the whole idea. Let this dry for several hours. And then comes the fun part! Peel off the tape and the words will appear!
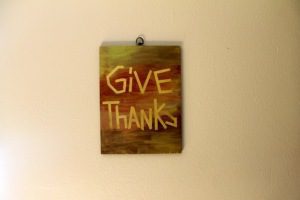
For this project I like to put a coat of clear glitter paint over the top to give it a nice shimmer and shine!

Here is your finished product…
This type of project has endless possibilities. You could also buy stencil stickers for the letters and use this instead of making the letters out of tape. I have even done something similar just using an old board from the garage.
Let me know if you try out this DIY project! We would love to see what you come up with too!


")


 Guide")
