

")


 Guide")


Alright, let me see a show of hands. How many of you got caught by your children over the holiday break trying to throw away “de-clutter” some of the artwork your child brought home at the end of the semester? Or if that wasn’t you, how many of you are at your wits end trying to organize and preserve your child’s school and artwork memories without losing your sanity and valuable square footage of your home in the process? If you identify with either of these scenarios, I am happy to let you know that there is a solution and one that both you and your children can agree on going forward.
I categorize artwork from my children into two categories: scribble scrabble & the good stuff. The scribble-scrabble phase is from about 1-3 years of age and the good stuff starts at around 4 years of age. As such, solutions for each will vary. Like many of you, for the first few years of my oldest son’s life, I knew I wanted to save some of his stuff but hadn’t the slightest idea how to do it in a way that would make sense long term. My initial “solution” of saving the stuff that was worth saving and throwing away “de-cluttering” the rest in our recycle bin landed me in hot water on more than one occasion when he found it by mistake (whoopsie daisy!). Clearly, I needed a more effective solution.
One day while scrolling social media, I came across what I believed to be the perfect solution for my son’s scribble-scrabble phase. It was simple, easy to assemble, and took up very little space.
Artwork Memories Frame
 Materials:
-
Frame of your choice & size
-
Paper punch in desired shape(s)
-
Cardstock in desired color to fit frame
-
Stack of your child’s scribble scrabble artwork
-
Glue stick or glue dots
-
Paint pen or marker of your choice
Directions:
Gather your pieces of scribble scrabble” artwork that you plan to include in the frame. Using your paper punch(es), punch out various pieces from your child’s scribble scrabble artwork over the years that contain colors or patterns that you like. Once you have enough pieces to fill the area of cardstock and frame that you chose, arrange them into the pattern of your choice and attach them to the cardstock using either a glue stick or glue dots. Since I have multiple children and knew I would eventually be doing this for my youngest son as well, I decided to write “Hamilton’s Preschool Masterpieces” at the bottom so I would be able to tell them apart years down the road. You can also include a date or anything else to personalize the project.
As you can see, I kept the design of the one for my oldest son pretty simple, but you can get creative with the design of your paper cutouts and do anything you want. I saw examples online of people arranging them into floral patterns, swirls, lines, shapes, etc. – the possibilities are endless. Once your design is complete, frame it and display it in your home for your child and others to enjoy for years to come!
Fast forward.
About a year or so after I completed the artwork memories frame for my son, I stumbled across an online ad for Artkive. That’s when I knew I had found the long-term solution for my children’s artwork for years to come. Artkive is a fantastic memory-preserving solution that “transforms piles of your kid’s art into art books and framed mosaics.” They make it so incredibly easy too!
Art Books
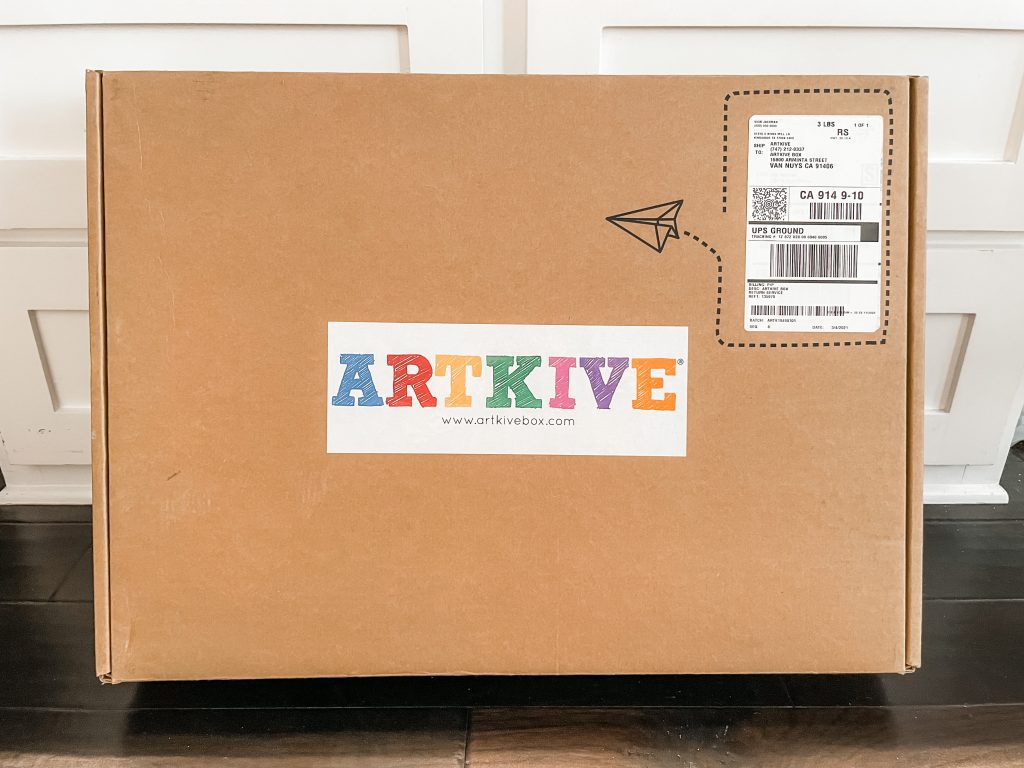
Step 1: Order a box from Artkive.
Step 2: Organize your child’s artwork into various categories and/or chronologically and then enclose everything in the large clear plastic bags that are provided in your box.
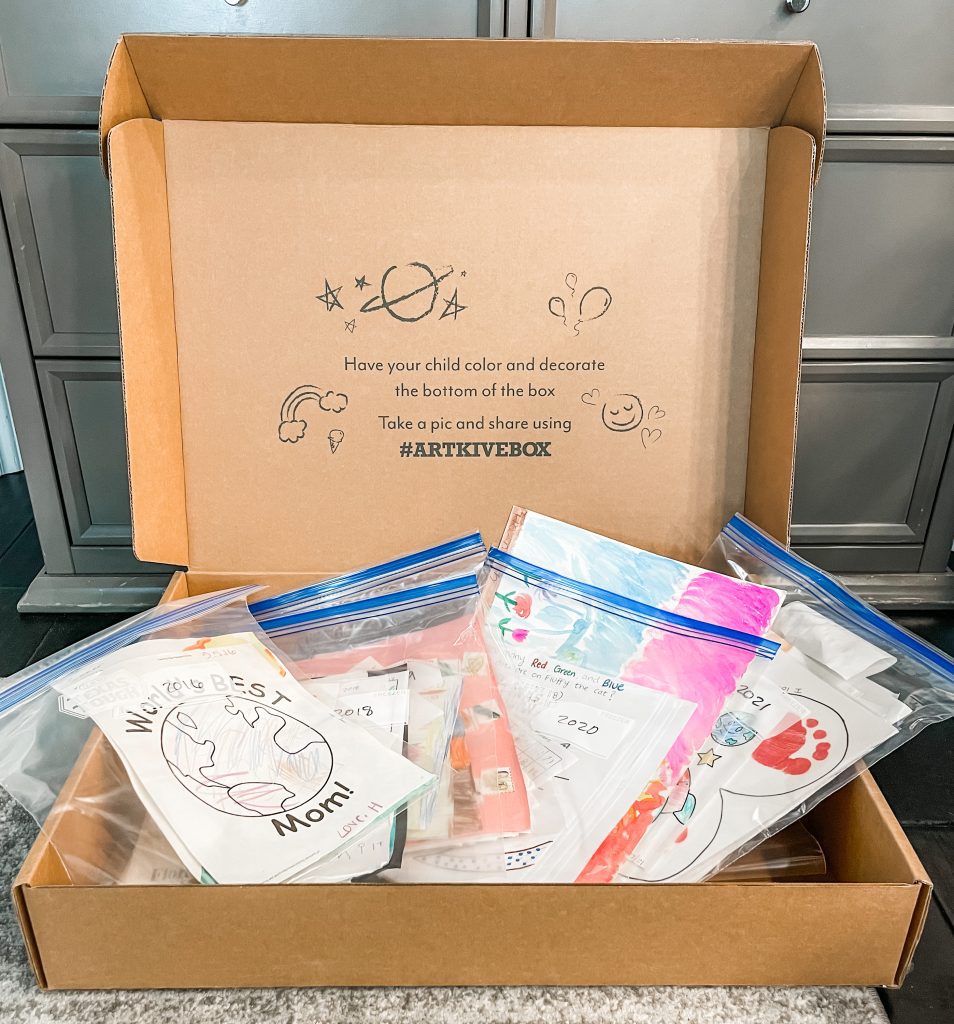 Step 3: Ship the box back to Artkive using the pre-paid shipping label.
 Step 4: Enjoy life while the stellar team of designers at Artkive carefully photograph/scan each piece of your child’s artwork using studio-quality lighting and state-of-the-art equipment. Once complete, you will receive a link to a digital proof of your child’s art book. You can re-organize the order of the art, add captions, include dates, etc.
Step 5: Once you are happy with the status of your child’s art book, submit your approval and then your book will enter the production phase and be shipped back to you ASAP. You can even purchase additional copies of the book for loved ones as gifts! During the order process you can choose whether you want your child’s artwork returned to you in its original state (which was a hard no for me because there was a reason I wanted the art book in the first place, but to each his own!), have the images returned to you on a USB drive, or have the original artwork recycled (the option I chose).
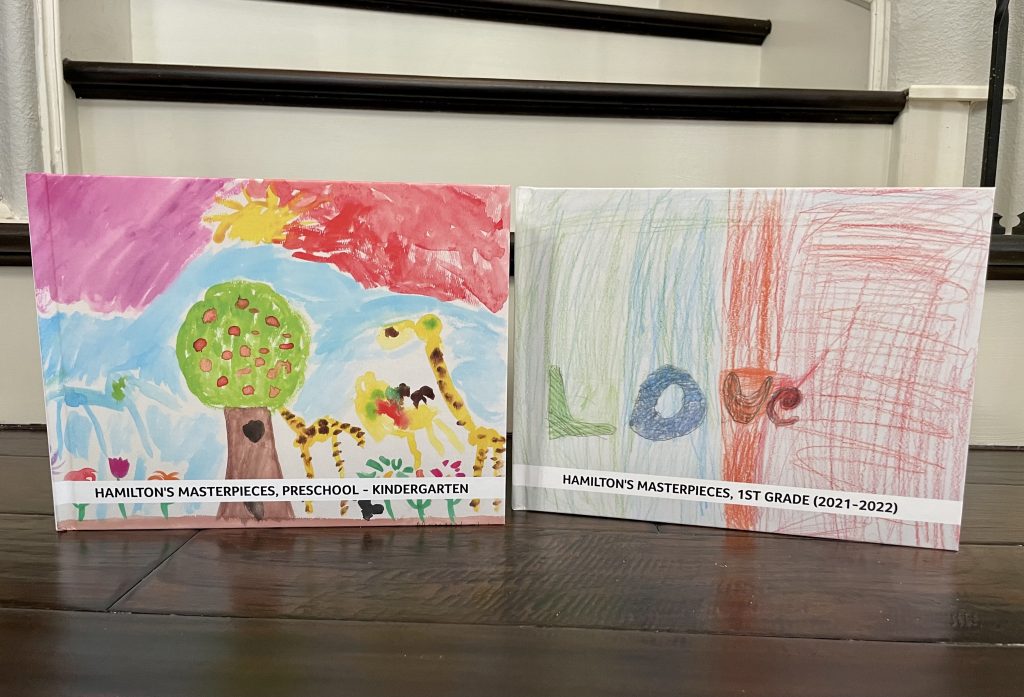
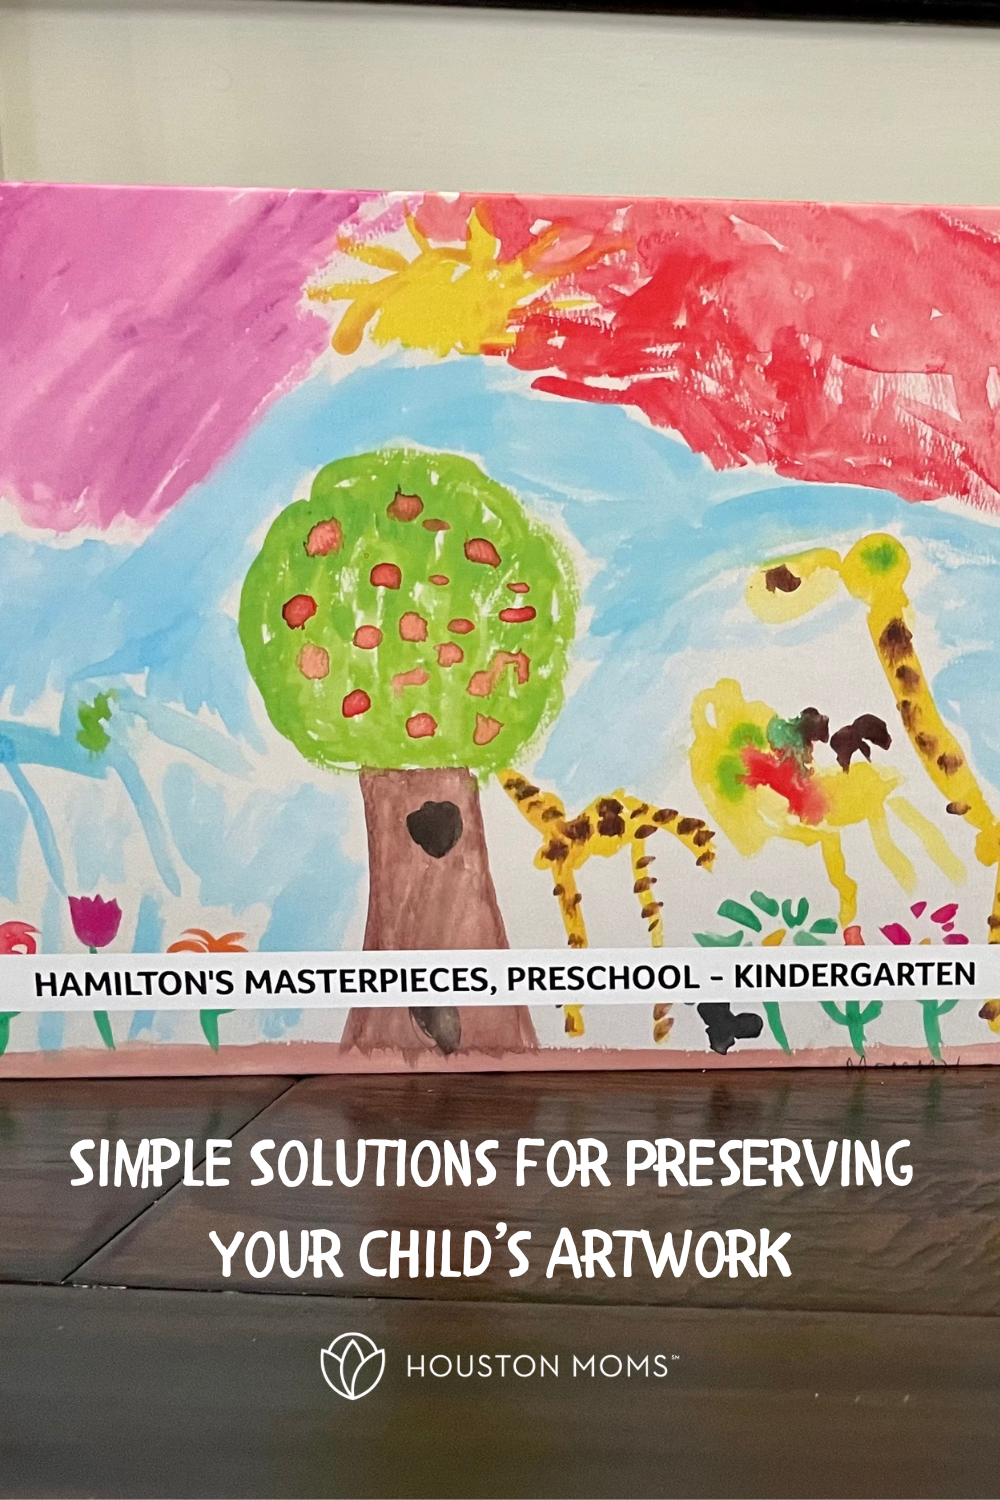
My oldest son LOVES his art books and it was really cute to watch him looking at his book for the first time because each page brought back memories for him of when he created that art. A few weeks ago I received the second art book for him and have decided on a rhythm of getting one art book for each of his years in school (with possibly consolidating all of middle school and/or high school down the road). Since I was playing catch up, his first art book was from pre-school through Kindergarten and the second book that we just received was for his 1st-grade year. His third book will be for 3rd grade and so on. I got a little creative and included his first day/last day of school pics at the beginning and the end of his books which he enjoyed as well. You can also include special assignments that your child worked really hard on or handwriting pages as well in the art book – Artkive will literally include anything in the book that can be scanned.
My organization strategy in between the printing of art books is to keep a 2-gallon Ziplock bag in my desk drawer at home. When artwork or special assignments come home that I want to include in his next art book, I enclose them in the bag chronologically and carefully throw away “de-clutter” the rest under the cover of darkness after he is in bed. After the end of the school year, I will send it off to Artkive for them to work their magic and anxiously await his next gorgeous book to arrive.
The thing that I love about both of these solutions is that my child’s artwork is actually enjoyed after it comes home and isn’t just lost forever in some drawer or box at the top of my closet for my kids to have to organize or purge one day after I’m gone. It also shows them that we value their work and gives them a tangible way they can enjoy it or share it with others going forward, which I think is pretty great. The best part though is that both solutions take up very little space in our home, no longer represent a problem that I have to deal with or solve each year, and my kids love them too!
Hopefully, you can figure out a way to implement these solutions in your family in the coming year as well. If so, be sure to tag us and share pics of your finished products! You won’t regret it.
Pin this post and be sure to follow
Houston Moms
on Pinterest!
")


 Guide")
